Raw Banana Fry Recipe - Raw Banana Recipes(Plantain Curry - Vazhakkai Recipes):
Raw banana fry(Plantain curry) is one of the easy raw banana recipes which can save your time a lot while preparing lunch for the family in the busy morning time. If I wake up late and do not want to miss giving lunch to hubby, I choose raw banana fry recipe next to urulaikilangu poriyal/Potato Poriyal. We call raw banana as vazhakkai in Tamil.

I got up very late one day and I thought it was too late to prepare and pack lunch for hubby. I did not even have potato at that time in stock. When I call my mom at that time, she told me to try this Raw banana recipe. We call it as Vazhakkai varuval. Seeing me preparing something in the last minute, my hubby got afraid and told me that he did not need lunch :) But, he told me that the plantain curry was very good and even his lunch mates liked it so much.
Since the raw banana which I used to click photographs was about to ripen, the curry was having a hint of yellow color. If you use a good raw banana, you will get a nice golden brown color. The color also depends on the quantity of turmeric powder and red chilli powder you add.
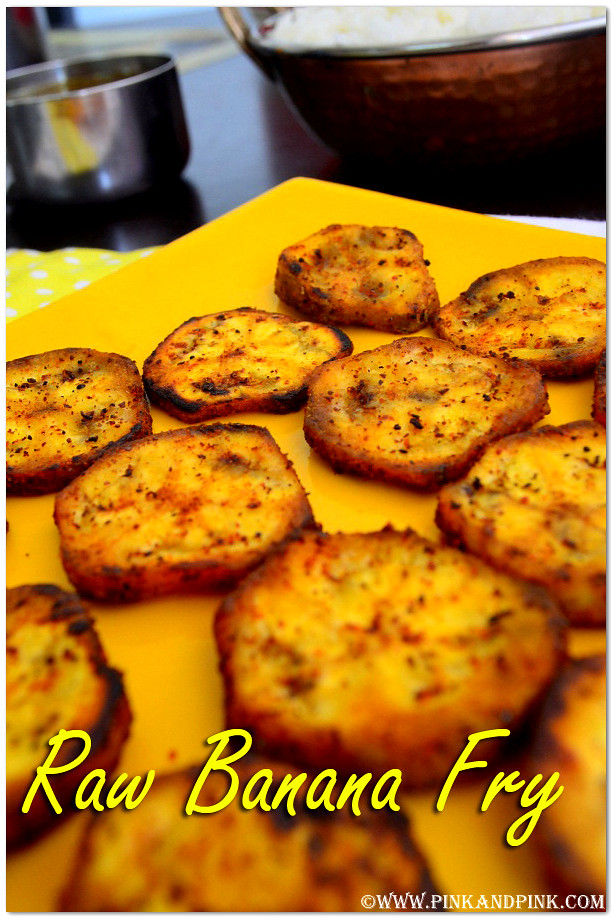
Raw Banana Fry Recipe - Raw Banana Recipes(Plantain Curry - Vazhakkai Recipes):
Raw Banana Fry Recipe - Raw Banana Recipes(Plantain Curry - Vazhakkai Recipes)
Prep Time: 5 mins | Cook time: 10 Mins | Serves: 2
Recipe Category : Side dish for rice
Ingredients:
- Raw Banana(Vazhakkai) - 1
- Turmeric powder - 1/8 tsp
- Red Chilli Powder - 1/2 tsp - 3/4 tsp
- Ginger Garlic Paste - 1/4 tsp
- Garam Masala Powder - 1/4 tsp
- Salt- As required
- Hing - 1 pinch
To Temper
- Mustard seeds - 1 tsp
- Urad dal - 1/2 tsp
- Hing - A pinch
- Curry leaves - few
- Oil - 1 tsp