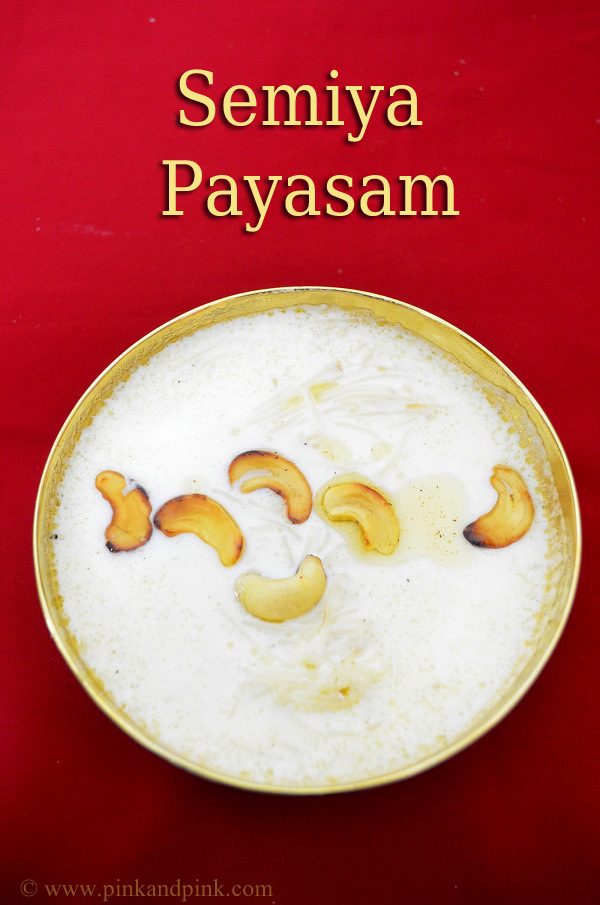
Semiya Payasam Recipe | Semiya Kheer | Vermicelli Kheer:
Semiya Payasam(Semiya Kheer or Vermicelli Kheer) is one of the easy to make payasam recipes. The best part is you will never fail with the recipe. It is very easy to make. Is it a festival day, special occasion or any auspicious day? Is it your family member's birthday? Semiya payasam is there to help us even if you do not have much time to allot for cooking. I choose semiya payasam as a dessert in case of unexpected arrival of guests. No cutting or sweating. It is very simple to make.

Mistakes to avoid:
1. Do not add more water and make it diluted. You will not get tasty semiya payasam.
2. Do not add a lot of sugar and you cannot eat it. Also, do not add very less sugar unless you are serving for a diabetic person.
So, if you concentrate on the above points while making semiya payasam(vermicelli kheer), you can make a winning semiya payasam in few minutes. Every one can make semiya payasam very easily but it will be easy for you if you have the correct measurement with you. It will help you to save your time instead of going on trial and error method.
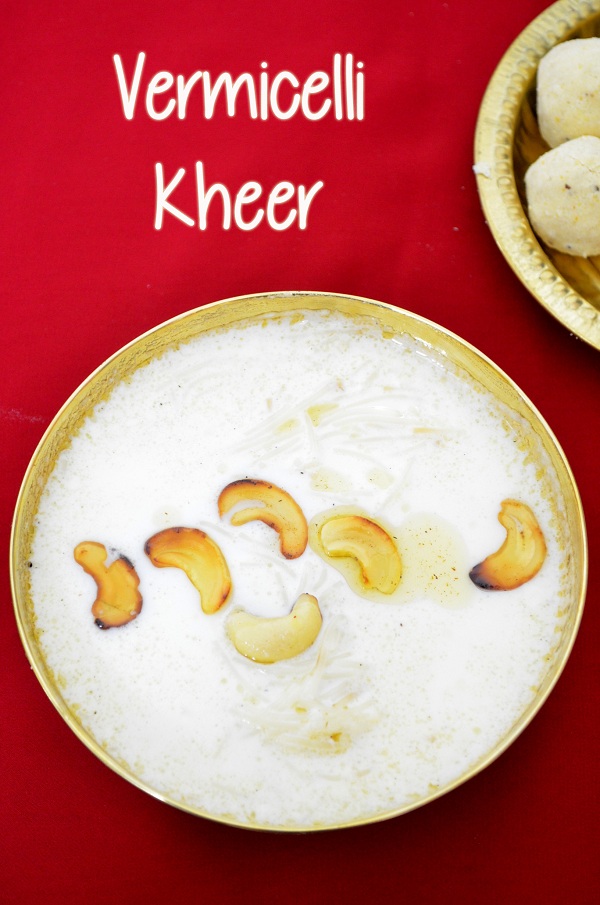
Semiya Payasam/Semiya Kheer/Vermicelli Kheer Recipe - How to make semiya payasam:
Semiya Payasam/Semiya Kheer/Vermicelli Kheer Recipe - How to make semiya payasam:
Cooking Time: 10 mins | Serves: 2-3
Recipe Category : Dessert
Ingredients:
- Semiya/Vermicelli - 1 cup
- Sugar - 3/4 cup
- Boiled Milk - 2 cup
- Water - 1/2 cup
- Cardamom(Elachi) - 1 pierced(optional)
- Cashews - 10 split(minimum)
- Ghee -2 tsp